Facilities
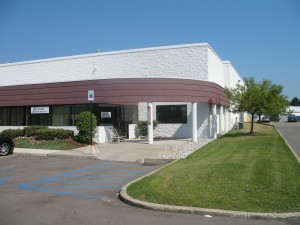
We are located in a high-tech business park just a few hundred yards off the I96 freeway in Wixom, Michigan. Our facility comprises 6200 sq ft and is a fully air conditioned and controlled environment. We have fork-lift truck lifting equipment to facilitate the offload of incoming trucks and the lifting of heavy parts onto our larger CMMs.
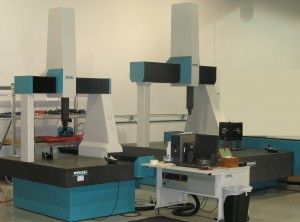
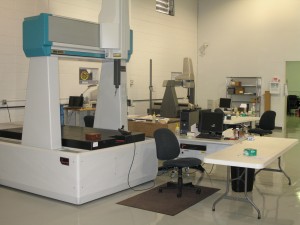
We have four traditional Coordinate Measuring Machines for touch probe and scanning inspection applications. The largest of which is a high accuracy Wenzel LH12.20.10 machine 1200mm (48″) x 2000mm (80″) x 1000mm (40″).
Our smaller Wenzel LH8.10.7 machine 800mm (32″) x 1000mm (40″) x 700mm 28″) is accurate to 1.5 micron and is used for gage certification and calibration. Our large Sheffield RS150 Apollo CMM with steel table also has measuring capacity of 1200mm (48″) x 2000mm (80″) x 1000mm (40″). These 3 machines are operating the DMIS native OpenDMIS software. Our Fourth machine is the IMS Impact II 5.6.5 CMM with a volume of 500mm (20″) x 600mm (23″) x 450mm (18″) runs on Virtual DMIS. All four are internally certified for accuracy on a 20 day cycle using a calibrated artifact comprising AA grade Ring Gages and Reference Spheres.
Our spacious facility allows for storage of large volume of parts under measurement analysis as well as allowing for an area of the shop to be curtained off for inspection of customer confidential parts.
Our portable Faro Arm equipment can be utilized at our shop or yours and allow for contact measurements or 3D laser scanning of parts.


